Introduction
KVM (short for Kernel-based Virtual Machine) is a Linux virtualization application that gives users the ability to turn their machine into a hypervisor and run multiple virtual machines in isolated environments.
In this tutorial you will learn how to install KVM on CentOS 8.
Note: A popular alternative is VirtualBox. If you are interested, see how to install VirtualBox on CentOS.
Prerequisites
- A system running CentOS 7 or 8
- An account with sudo privileges
- Access to the command line/terminal
Steps to Install KVM on CentOS
The steps listed in this tutorial work with CentOS 8 and CentOS 7.
Step 1: Check if Your System Supports Hardware Virtualization
To see if your system is capable of hardware virtualization (HV), run the following:
$ cat /proc/cpuinfo | egrep "vmx|svm"The output will look similar to this:

In the output, review the list of flags. If you find either vmx (for Intel processors) or svm (for AMD), the system supports hardware virtualization.
Note: If you encounter issues with installing KVM on a system which supports HV, check your BIOS to see if HV is enabled. To enable HV, refer to the documentation for your host’s BIOS.
Step 2: Install KVM
Use the following commands to install KVM on CentOS:
$ sudo yum update$ sudo yum install @virtNext, start and enable the libvirtd service:
$ sudo systemctl enable --now libvirtdInstall tools required for KVM management:
$ sudo yum -y install virt-top libguestfs-toolsStep 3: Verify KVM Installation
To confirm that the KVM module is loaded, run:
$ lsmod | grep kvmThe output will contain a list of loaded KVM modules:

Step 4: Configure Bridge Interface
A bridge interface is necessary for accessing VMs from outside of the hypervisor network. To create a bridge interface, first identify the network interfaces attached to your machine:
$ sudo nmcli connection showThe output shows all available network interfaces:

Make note of the name of the ethernet interface (in this case, it is enp0s3). Delete the connection by typing the following command (replacing the UUID with your value):
$ sudo nmcli connection delete UUIDThe system will confirm the deletion of the connection:

Next, make sure you have the necessary info at hand:
- BRIDGE NAME – Name for your new bridge (e.g. “br1”)
- DEVICE NAME – Name of the network device which will serve as the bridge slave (e.g. “enp0s3”)
- IP ADDRESS/SUBNET – IP address and subnet for the connection (e.g. “192.168.122.1/24”)
- GATEWAY – Default gateway address (e.g. “192.168.122.1”)
- DNS1 and DNS2 – DNS addresses (e.g. “8.8.8.8” and “8.8.4.4”)
Now, using your own values, create a new bridge interface:
$ sudo nmcli connection add type bridge autoconnect yes con-name BRIDGE NAME ifname BRIDGE NAMEThe output confirms the successful addition of the bridge connection:

Make the necessary modifications to the IP address, Gateway and DNS:
$ sudo nmcli connection modify BRIDGE NAME ipv4.addresses IP ADDRESS/SUBNET ipv4.method manual $ sudo nmcli connection modify BRIDGE NAME ipv4.gateway GATEWAY$ sudo nmcli connection modify BRIDGE NAME ipv4.dns DNS1 +ipv4.dns DNS2The commands with values filled in look like this:

Add a bridge slave:
$ sudo nmcli connection add type bridge-slave autoconnect yes con-name DEVICE NAME ifname DEVICE NAME master BRIDGE NAME
Output of nmcli connection show should now look like this:

Activate the bridge with the following command:
$ sudo nmcli connection up BRIDGE NAME
Create Virtual Machine via Command Line
To create a VM via command line in CentOS 8 use the virt-install command.
The following example shows how to install an Ubuntu 20.04 LTS virtual machine:

The above example uses the following command line arguments, which are necessary to set up a virtual machine with your preferences:
| Argument | Description |
|---|---|
--name= | Custom name of the VM |
--file= | Disk file location of the VM |
--file-size= | Allocated file size of the VM |
--nonsparse= | The command which allocates the entire disk |
--graphics= | Specifies which tool would be used for GUI installation (e.g. spice) |
--vcpu= | Number of virtual CPUs that will be used |
--ram= | Amount of RAM allocated |
--cdrom= | Installation media |
--network= | Network used for the VM |
--os-type= | Type of the operating system |
--os-variant= | If you are not sure about the OS variant, type “generic” |
Create Virtual Machine via GUI
If the Linux terminal seems too intimidating, use the virt-manager GUI to create a VM with KVM.
1. First, install virt-manager:
$ sudo yum -y install virt-manager2. Start virt-manager from the console:
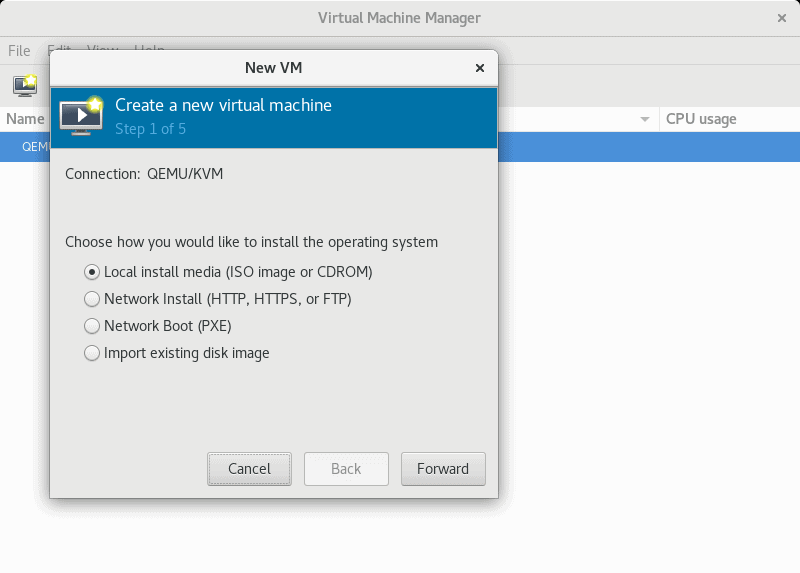
$ sudo virt-manager3. Open the File menu and select New Virtual Machine. Choose your installation media and proceed to the next step.
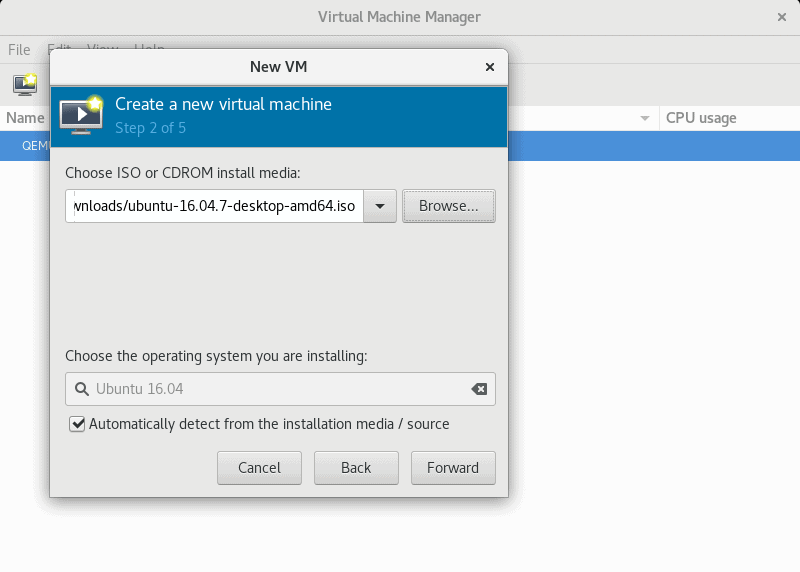
4. Specify the path to the ISO or CDROM with the OS you wish to install. The system recognizes the OS you selected.
5. Click Forward to proceed to the next step.
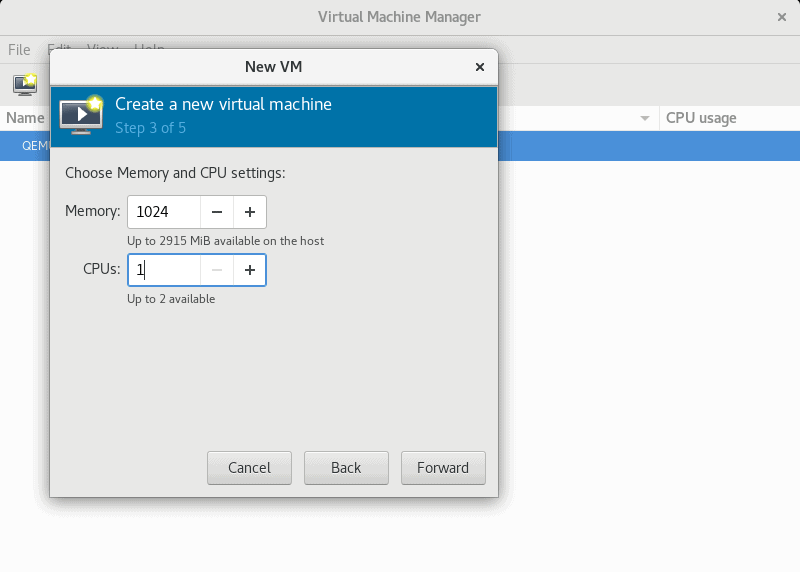
6. In the next step, allocate RAM and CPU resources. When you finish, proceed further.
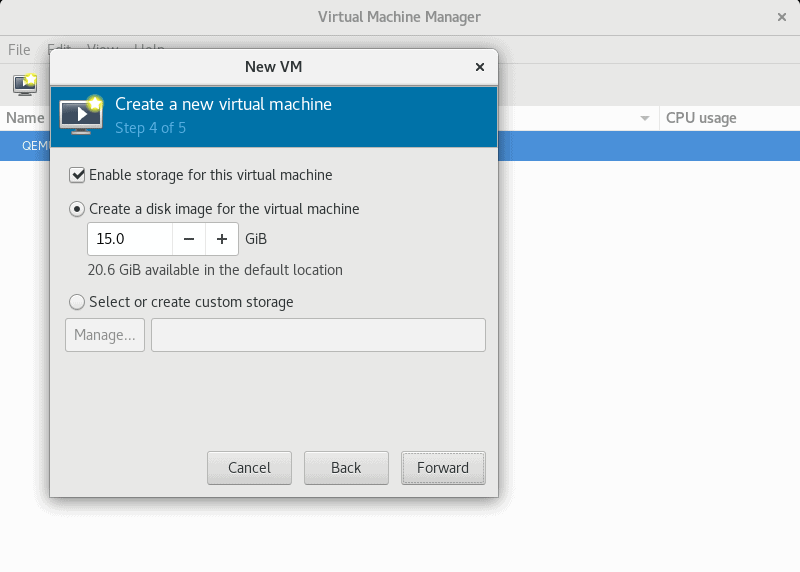
7. Specify the size of the virtual hard disk and proceed to the next step.
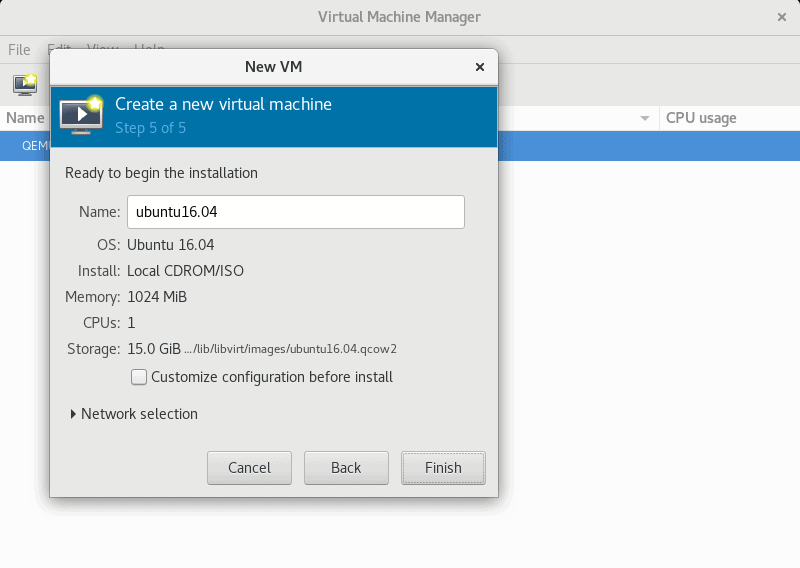
8. In the last step, confirm your choices and press Finish to set up the virtual machine.
Conclusion
This article explained the process of setting up KVM on CentOS 8. It provided instructions for installing KVM, configuring a bridge interface, and setting up virtual machines using the GUI or Linux terminal.
