Introduction
DNS configuration sets up a Domain Name System server to translate domain names (URLs) into IP addresses. The configuration helps manage the DNS records for domains.
Knowing how to configure a DNS server is essential for any network administrator. The steps to configure a DNS differs depending on the operating system.
This article shows how to configure DNS on a Windows, macOS, and Linux machine.
Prerequisites
- A stable internet connection.
- Access to an account with administrator privileges.
- Access to the command line/terminal.
Why Change DNS Configuration?
Internet service providers use a preconfigured DNS server to filter traffic. There are many reasons to change the default DNS configuration, such as:
- Speed improvements. A DNS maps domain names to IP addresses. Custom DNS configuration helps improve domain name resolution times, which reduces the time needed to access a website.
- Greater security. Specific DNS servers block malicious web pages and focus on preventing access to unsafe websites. Changing the DNS configuration to use such servers improves internet security and restricts exposure to online threats.
- Customized experience. Configure the DNS to block access to specific web pages or reroute domain names to different addresses. For example, some DNS servers help create a family-friendly environment by blocking access to unsafe or suspicious websites.
- Privacy. Some DNS servers log internet queries for advertising purposes. Changing the DNS configuration to a privacy-focused server enables better control over online privacy.
- Troubleshooting. Changing to a different DNS server is crucial in troubleshooting DNS issues.
There are many free DNS resolvers available. While some solely focus on reducing DNS lookups and speed improvements, other resolvers aim to provide an additional security and filtering layer.
The table below shows example providers, the purpose of the DNS, and the IPv4 and IPv6 addresses:
| Provider | Purpose | IPv4 Addresses | IPv6 Addresses |
|---|---|---|---|
| Speed improvements. | 8.8.8.8 8.8.4.4 | 2001:4860:4860::8888 2001:4860:4860::8844 | |
| Cloudflare | Speed improvements. | 1.1.1.1 1.0.0.1 | 2606:4700:4700::1111 2606:4700:4700::1001 |
| Quad9 | Filters malware, phishing, and exploits. | 9.9.9.9 149.112.112.112 | 2620:fe::fe 2620:fe::9 |
| OpenDNS | Security filtering and user-defined policies. | 208.67.222.222 208.67.220.220 | 2620:119:35::35 2620:119:53::53 |
The table shows a brief list of popular DNS servers. Research further to find a DNS resolver for your use case.
How to Change DNS Configuration on Windows
Changing the DNS configuration on Windows OS requires administrator privileges. Below are instructions to change the DNS configuration on a Windows 10/11 or Windows Server machine.
Windows 10/11
To change the DNS configuration on Windows, do the following:
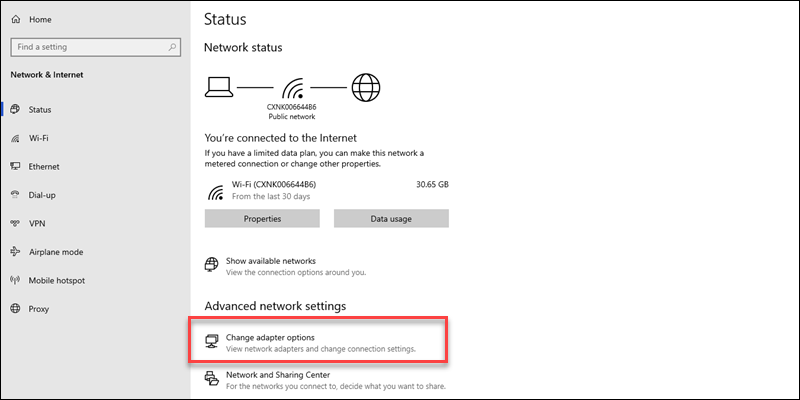
1. In the Start menu, search for Network Status.
2. Select Change adapter options.
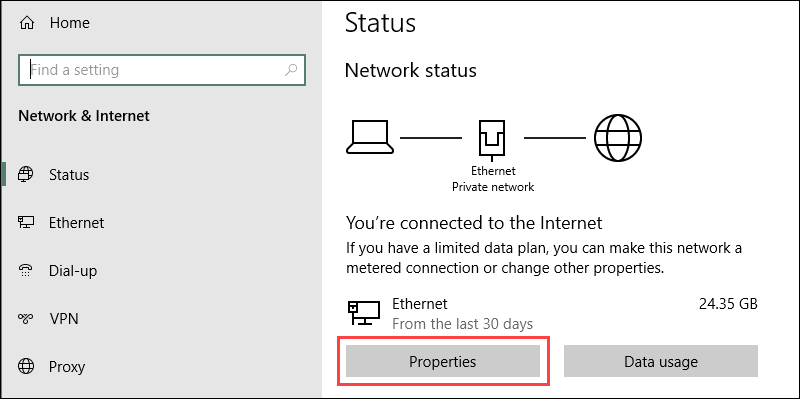
3. Right-click the network connection and open Properties.
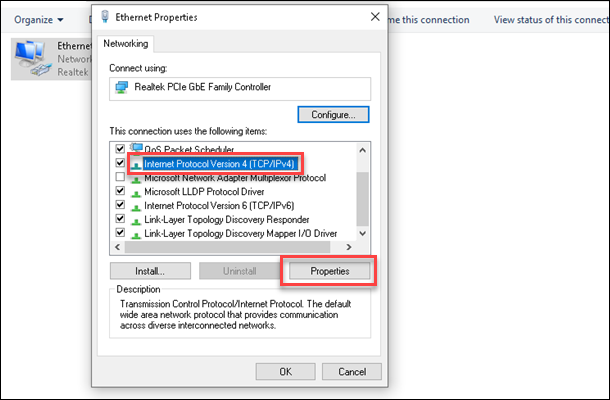
4. Locate and select the Internet Protocol Version 4 (TCP/IPv4) option from the list.
5. Click the Properties button to open the IPv4 settings.
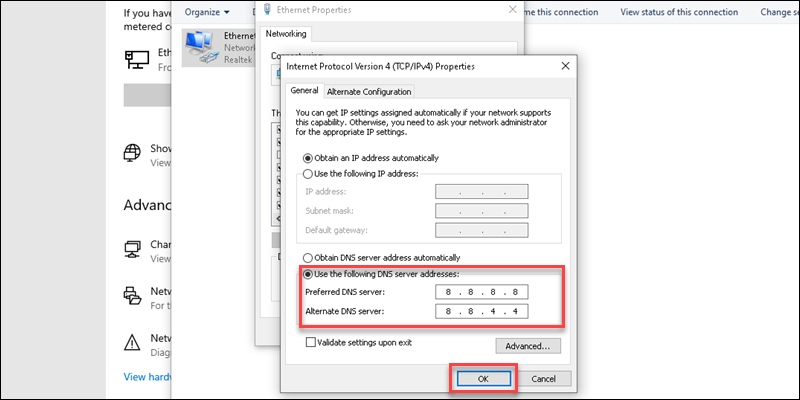
6. Select the Use the following DNS server addresses option.
7. Fill out the primary and secondary addresses. For example, to use Google's DNS resolver addresses, set 8.8.8.8 as preferred and 8.8.4.4 as alternate.
8. Click OK to save the changes.
Restart the browser to apply the changes.
Windows Server
To change the DNS configuration on a Windows Server, follow the steps below:
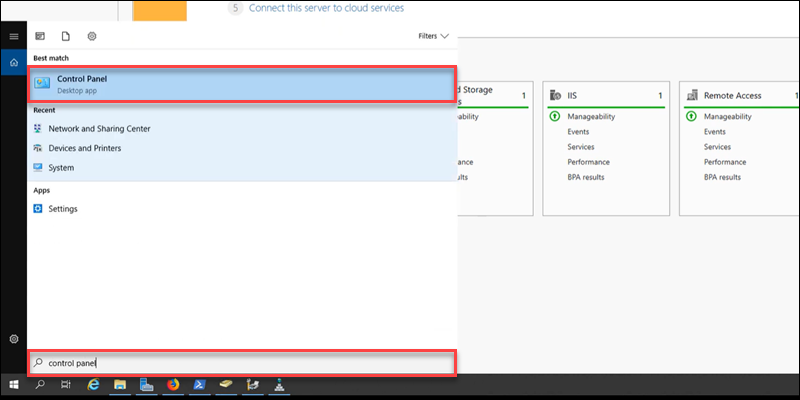
1. Open the Start menu.
2. Search for Control Panel and press Enter.
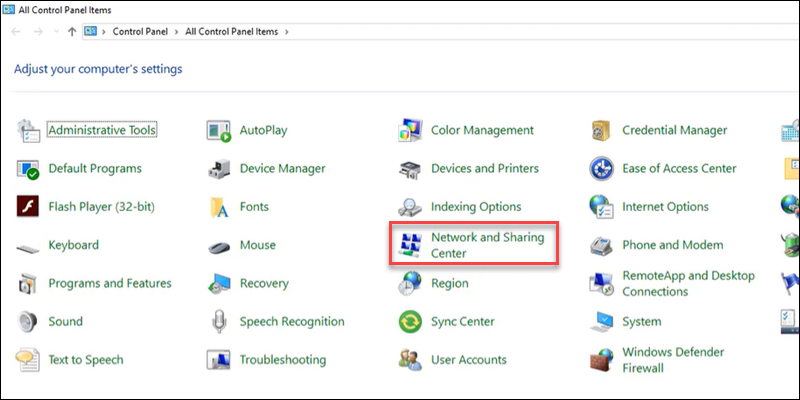
3. Open the Network and Sharing Center.
4. In the left pane, select Change adapter settings.
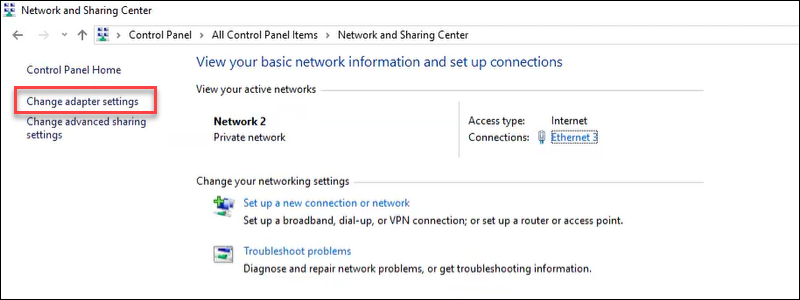
The steps after this are similar to Windows 10/11 machines.
5. Right-click the connection and open Properties.
6. Double-click the Internet Protocol Version 4 (TCP/IPv4) option on the list.
7. Set the preferred and alternate DNS server address in the fields, and click OK to apply the changes.
Note: If you use an Active Directory domain, enter the loopback address from the IP field and set up a DNS forwarder with the public DNS addresses instead.
How to Change DNS Configuration on Linux
The following steps work on Ubuntu 22.04. The steps can slightly differ between different Linux distributions.
To permanently change the DNS configuration on Linux, do the following:
1. Open the terminal (Ctrl+Alt+T).
2. Open the resolv.conf file using a text editor, such as nano:
sudo nano /etc/resolv.conf3. Add primary and alternate DNS addresses above the current configuration:
nameserver 8.8.8.8
nameserver 8.8.4.4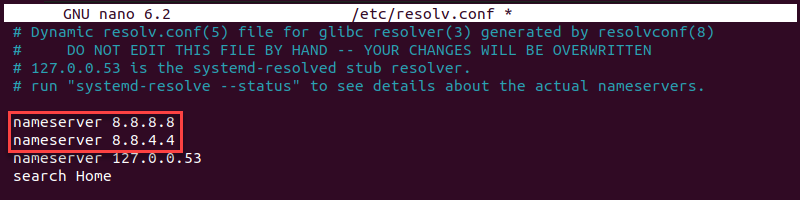
The addresses use Google's DNS resolver. Replace the IPs with your preferred DNS.
4. Save the file and close nano.
5. To ensure the changes persist after restarting the machine, use the resolvconf tool. Install it with the following command:
sudo apt install resolvconfWait for the installation to complete and proceed to the next step.
6. Start and enable the service with the following two commands:
sudo systemctl start resolvconf.servicesudo systemctl enable resolvconf.service
7. Edit the configuration file:
sudo nano /etc/resolvconf/resolv.conf.d/head8. Add the following lines above all other configurations:
nameserver 8.8.8.8
nameserver 8.8.4.4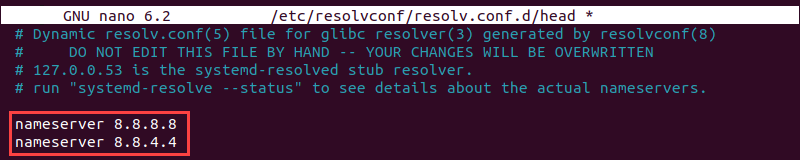
9. Save the file and close the text editor.
10. Restart the service:
sudo systemctl restart resolvconf.service11. Confirm the changes applied:
resolvectl status
The addresses show as the current DNS server for the Global settings. Alternatively, run the dig command:
dig phoenixnap.com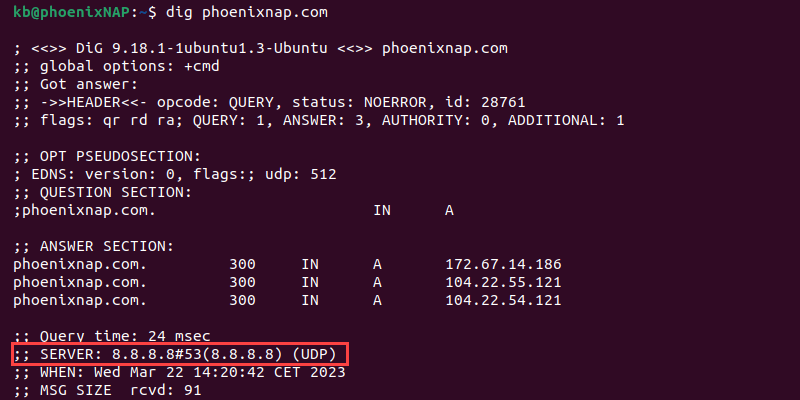
The SERVER section shows the DNS addresses.
How to Change DNS Configuration on macOS
To change the DNS configuration on macOS, follow the steps below:
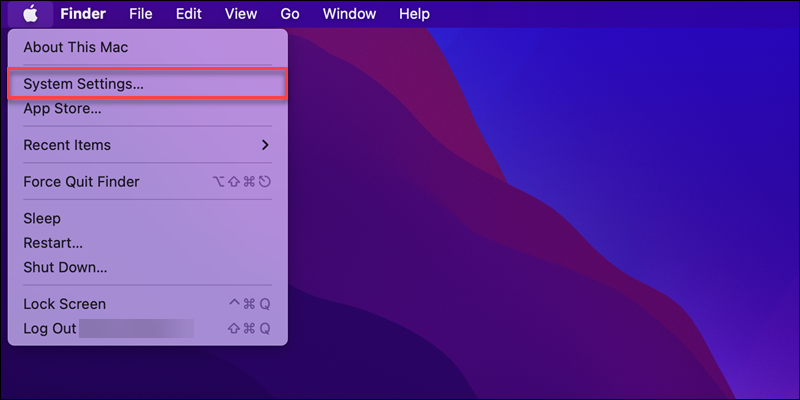
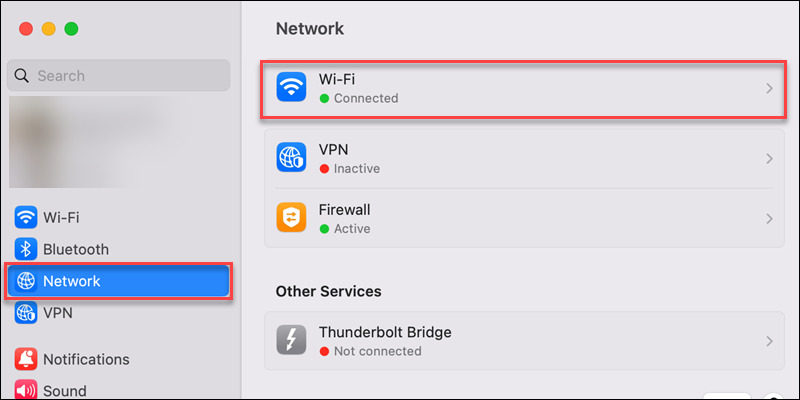
1. Open Apple Menu->System Settings.
2. Open the Network settings from the left menu.
3. Choose the network from the list in the right pane (Wi-Fi or Ethernet).
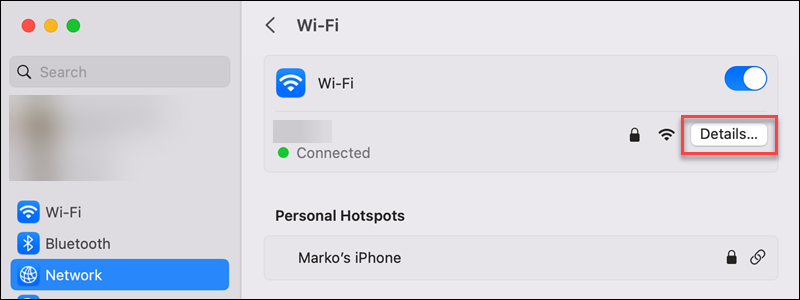
4. Click the Details button to view the connection settings.
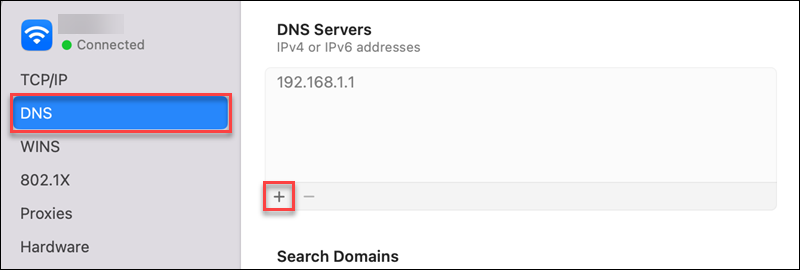
5. Switch to the DNS tab in the left pane.
6. Click the plus (+) button to add DNS server addresses.
7. Add the primary and secondary addresses for the DNS server.
8. Click OK to save the changes and apply the settings.
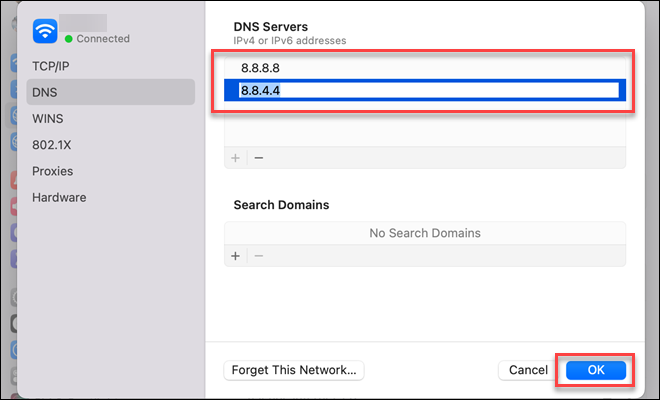
Restart the browser to test and see the changes.
How to Change DNS Configuration on Router Level?
Changing DNS configuration on a router level affects all connected devices, such as computers, smartphones, and any additional smart device that uses Wi-Fi. Routers that manage multiple signals, such as a phone or TV signal, often do not allow changing DNS settings at all.
The precise instructions to change the DNS configuration on a router are different for every model. Check the router's instruction manual to see if there are specific steps and guidelines. Alternatively, search for the router name and model and add the "change DNS configuration" phrase.
Conclusion
After going through the steps in this guide, you know how to set up a custom DNS configuration on three different operating systems. Configuring DNS comes with many benefits, and it is essential for proper network administration.
Next, read about the best DNS practices for security and performance.
